
When it comes to new devices, the norm for many years now has been for Content Creators (whether well-known or up and coming) to rush to get reviews out as soon as possible. Nearly everyone in the content creation space desperately craves to receive the oh-so-coveted Review Units that device makers release in wild in the hopes of to not only gain some real world usage data, but to also drum up some buzz about their devices. Content Creators not only have the opportunity to score some free new tech, but they also get a chance to claim the “hashtag FIRST crown” which helps develop their reputation of always being in touch with what’s new and hot.
I’m not necessarily criticizing any of this. In fact, I’ve always been a lover of beta testing software and gadgets – mostly because of my love of tinkering in general. And let’s face it, who doesn’t like free stuff? Also, having Content Creators get reviews out early enough can help consumers decide on purchases – especially if the creators have developed trustworthy track records.
But there are times when I wish that some reviews could be held off for a bit longer. I feel sometimes that some device reviews would be better served after a few months of usage, as opposed to several weeks, considering some of the changes that impact many of today’s devices primarily thanks to software updates and security patches, as well as things such as the availability of accessories that tend to be made available months after a device’s release. Often when a device maker has a launch event, many of the features and/or accessories are tagged as “coming soon”. Thus many of the “cool” and “oooh-ahh” things that we see onstage won’t be available for months to come.
Aside from those reasons, I feel that sometimes a few weeks of living with a device simply might not be enough time to truly gauge the value of the device. For example, some devices can be quick and snappy early on, but as more time goes by that may no longer be the case. In which case if Content Creators talk about how fast and responsive a device may be early on, there may be no indication of device sluggishness after a couple of months. Thankfully there are many Content Creators and media outlets who in fact provide followup reviews later down the line, but oftentimes many consumers only look at announcements that are new. Finally I’m willing to concede that much of this is based on my personal preferences, so a lot of what I’m saying here may seem to be much to do about nothing to many of you reading. However I just wanted to voice my opinion about the device review cycle as well as offer some context as to why I waited from the date I received my Pixel Watch (October 17th, 2022) until now (I’m writing this on February 11th, 2023) to give my impressions of it.
The Band Had To Go
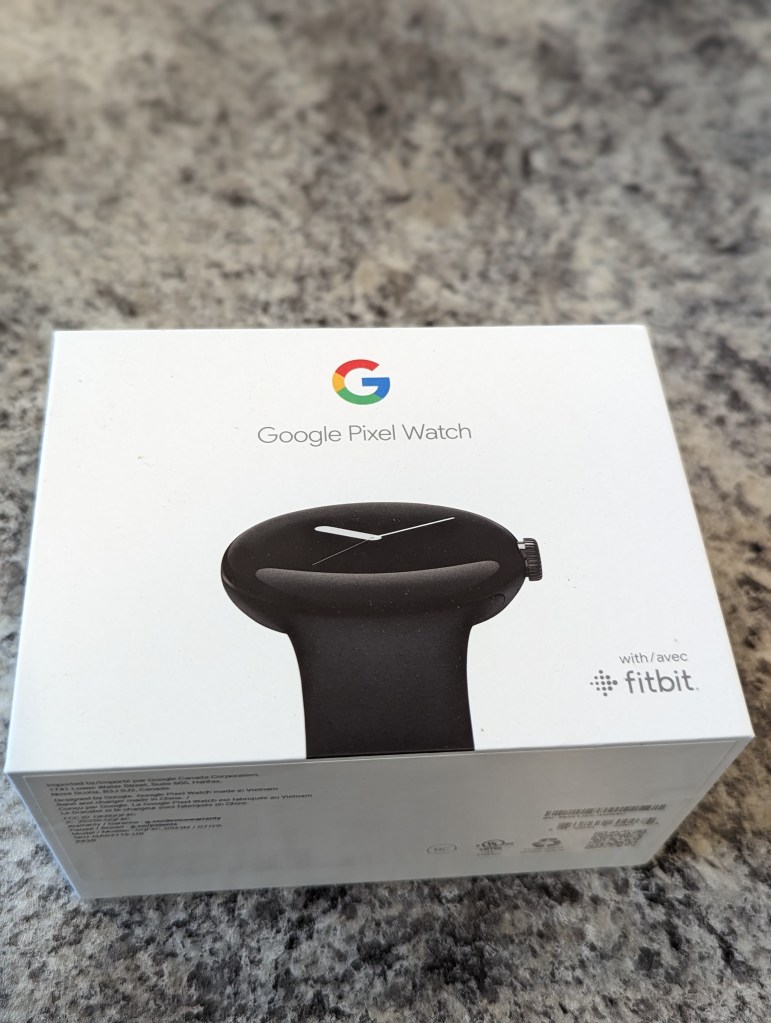
Speaking of content norms, it’s typical for reviews like this to start with tech specs. Rather than list them all individually here, I’ll instead point you to Google’s Specs Page. There you’ll find everything you need to know from connectivity, glass type, and battery size.
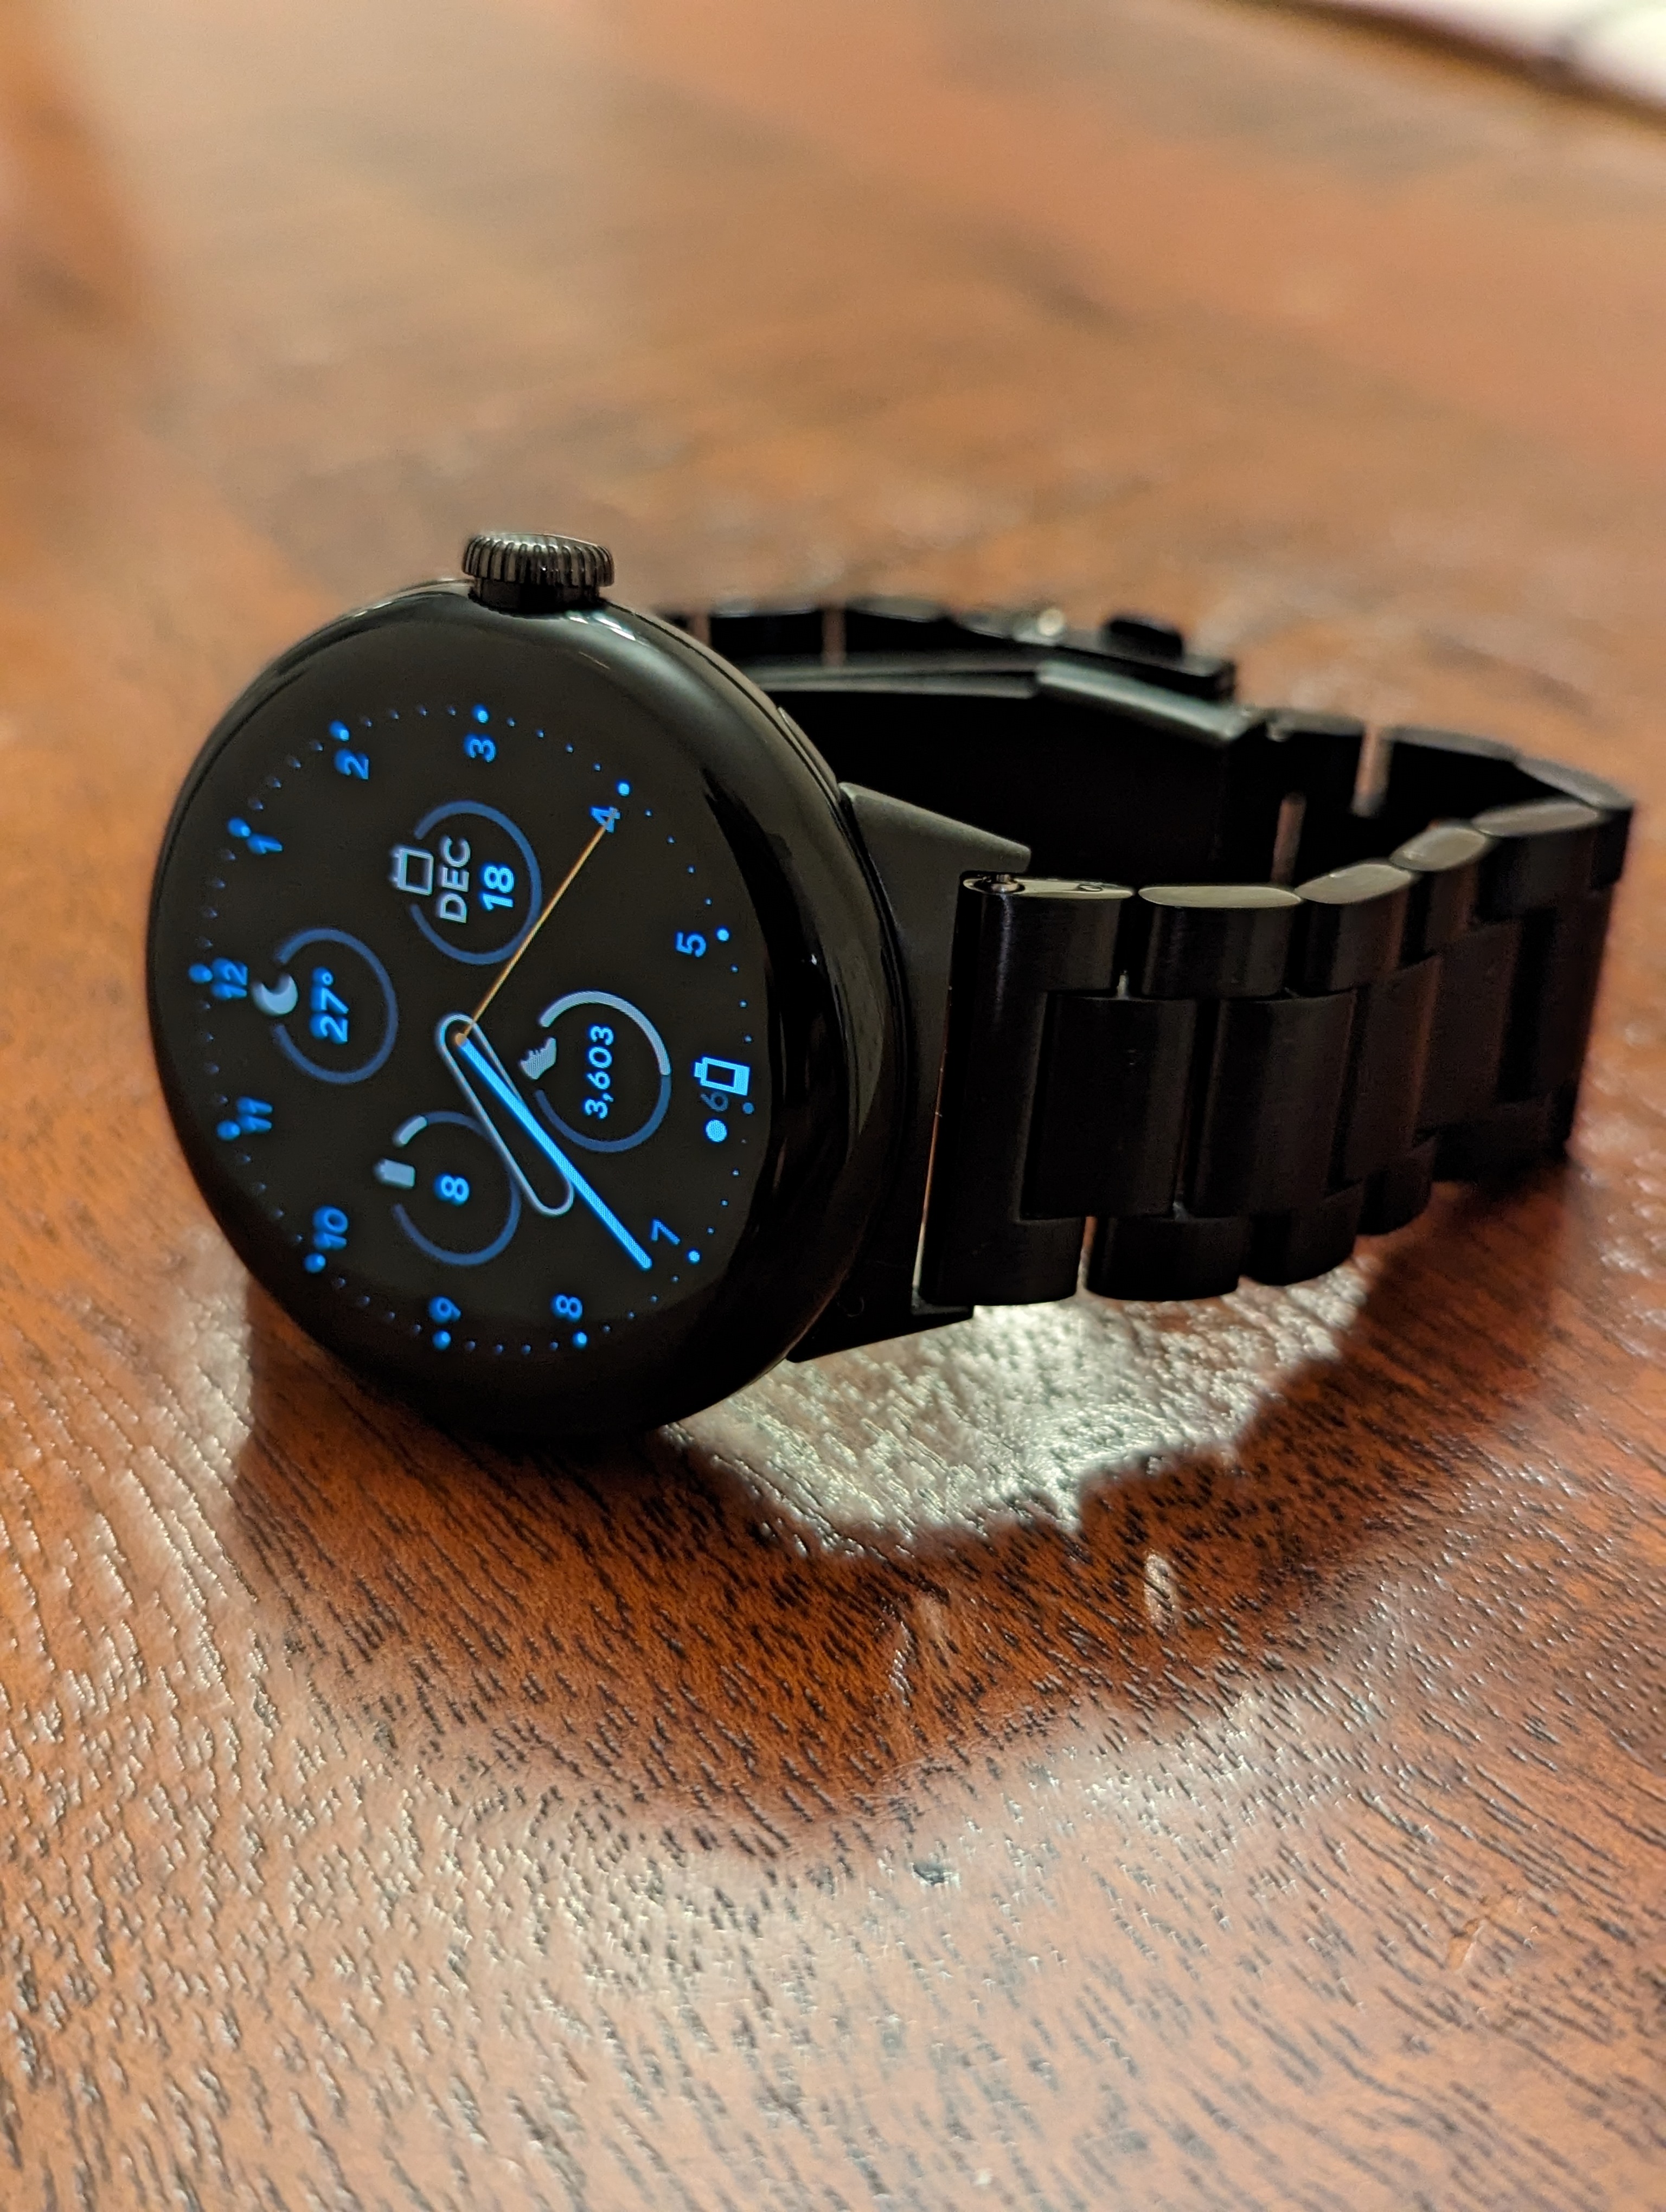
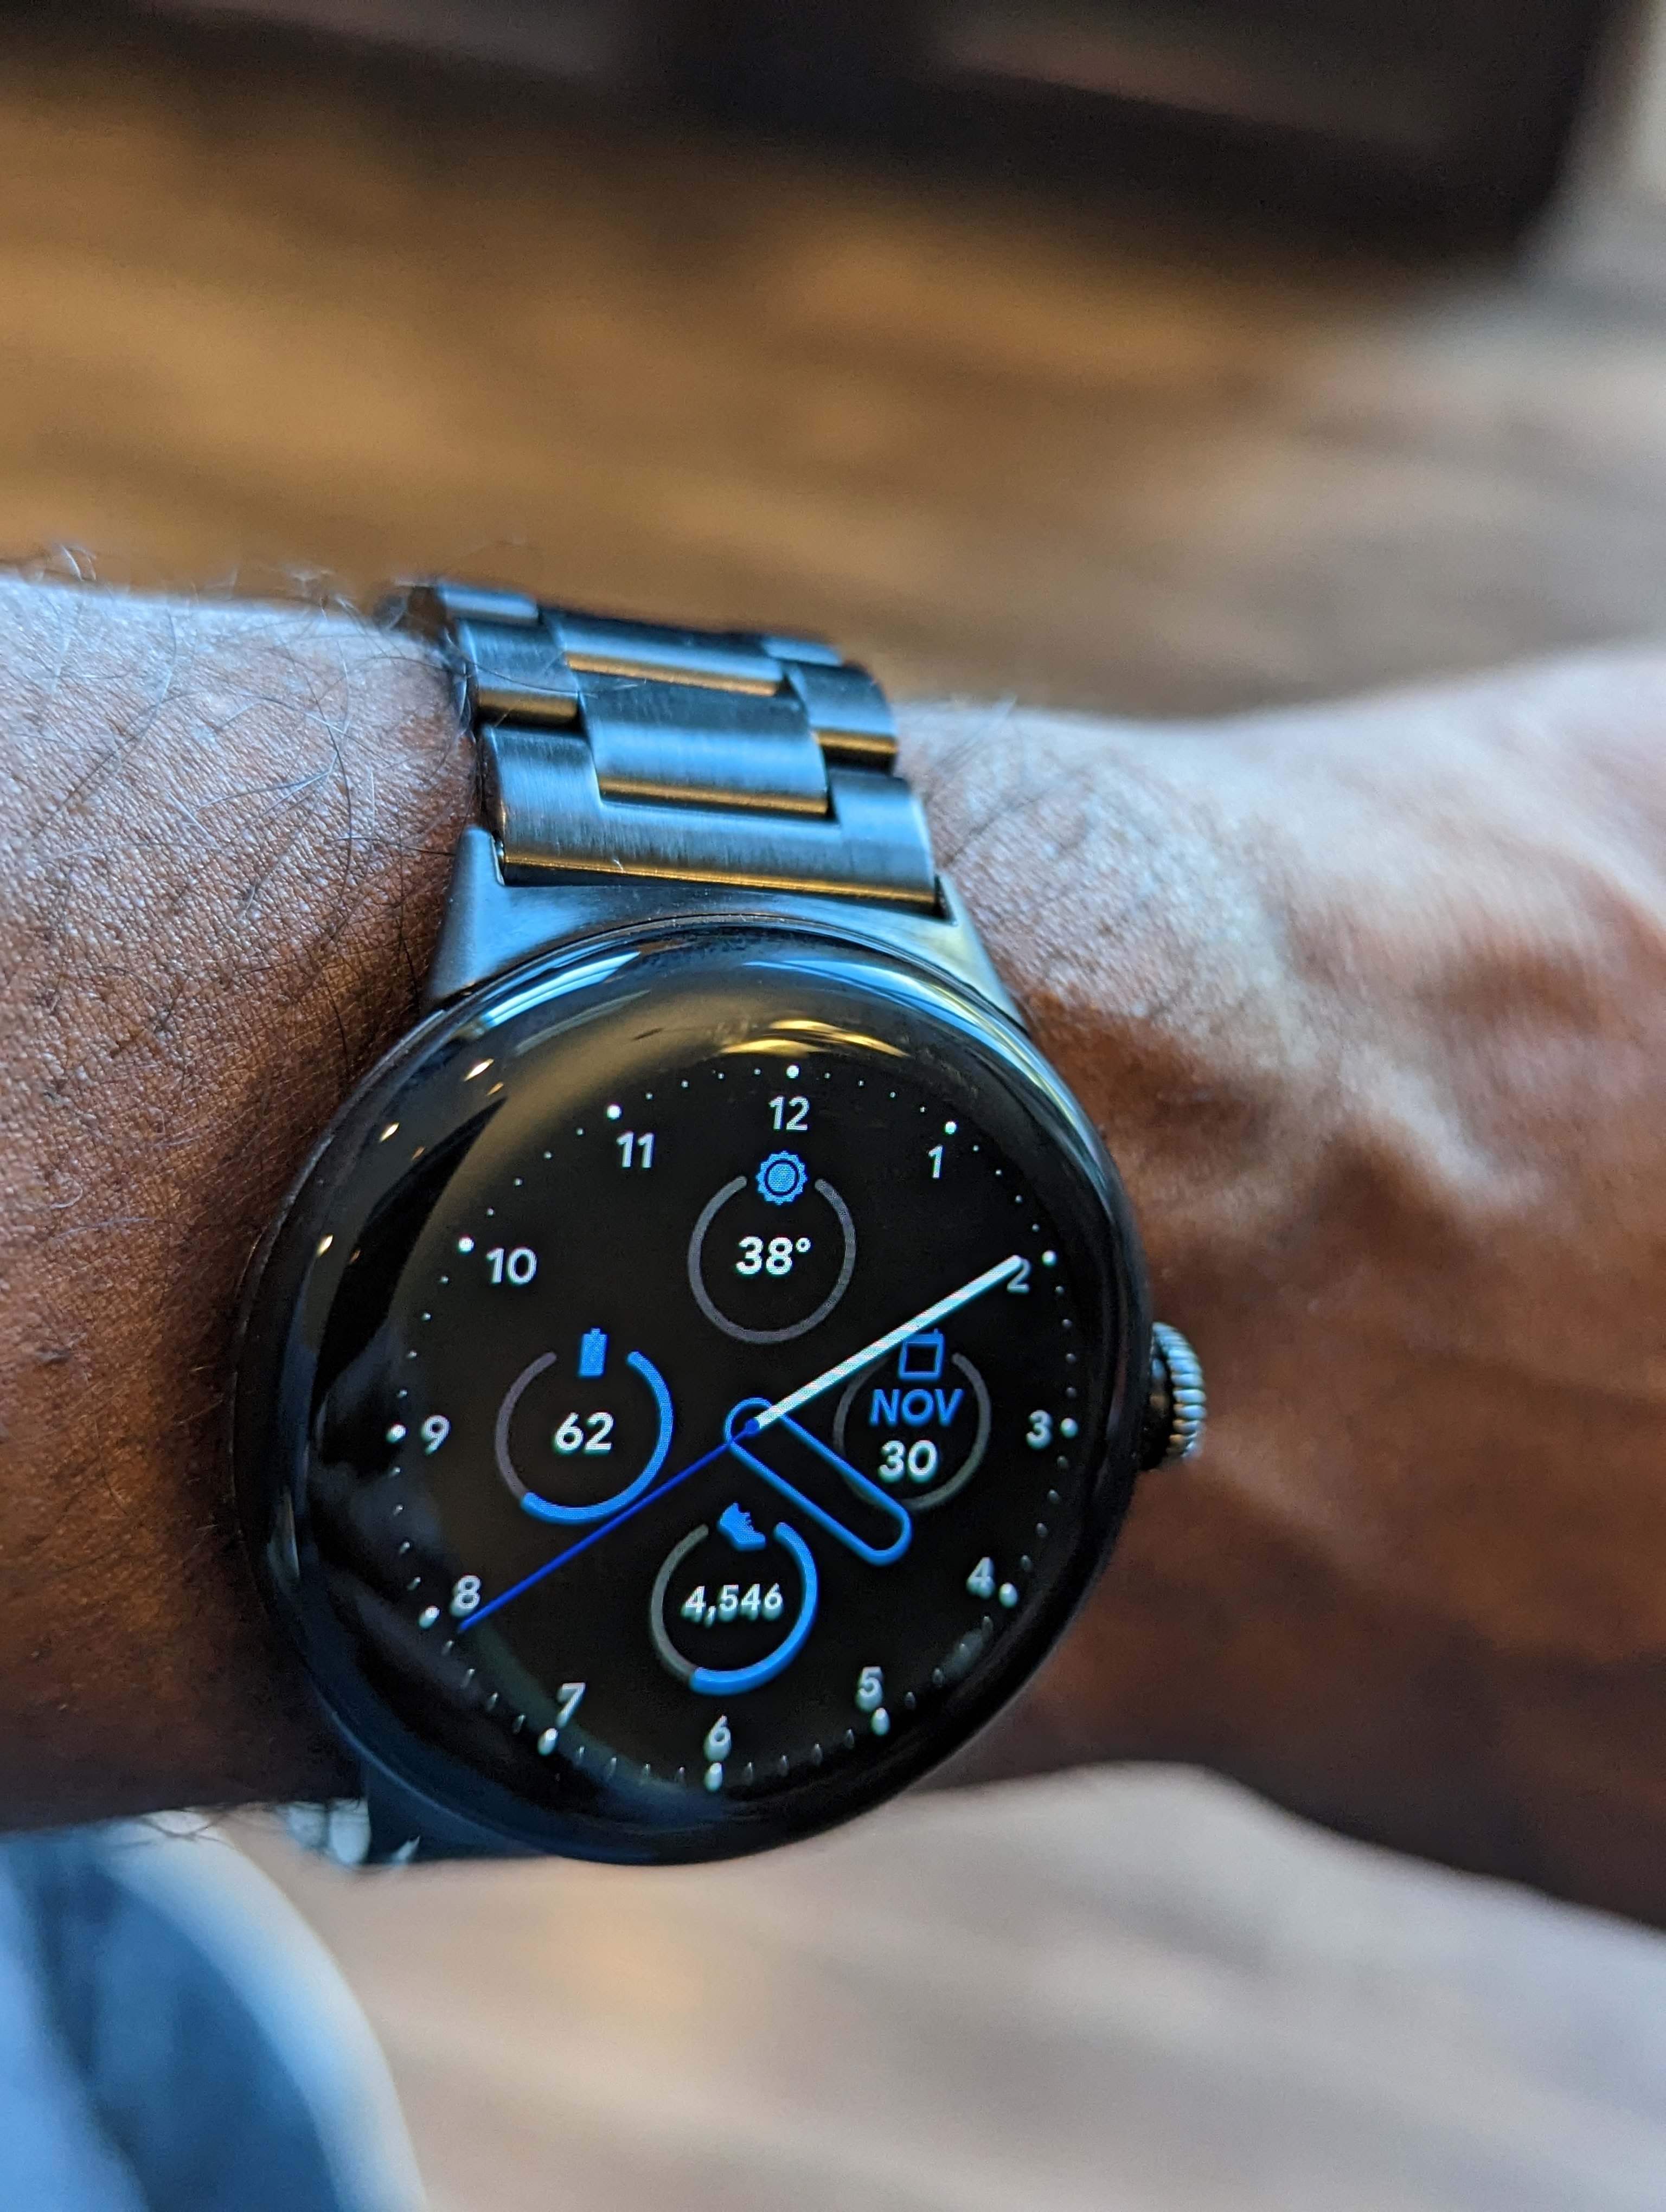
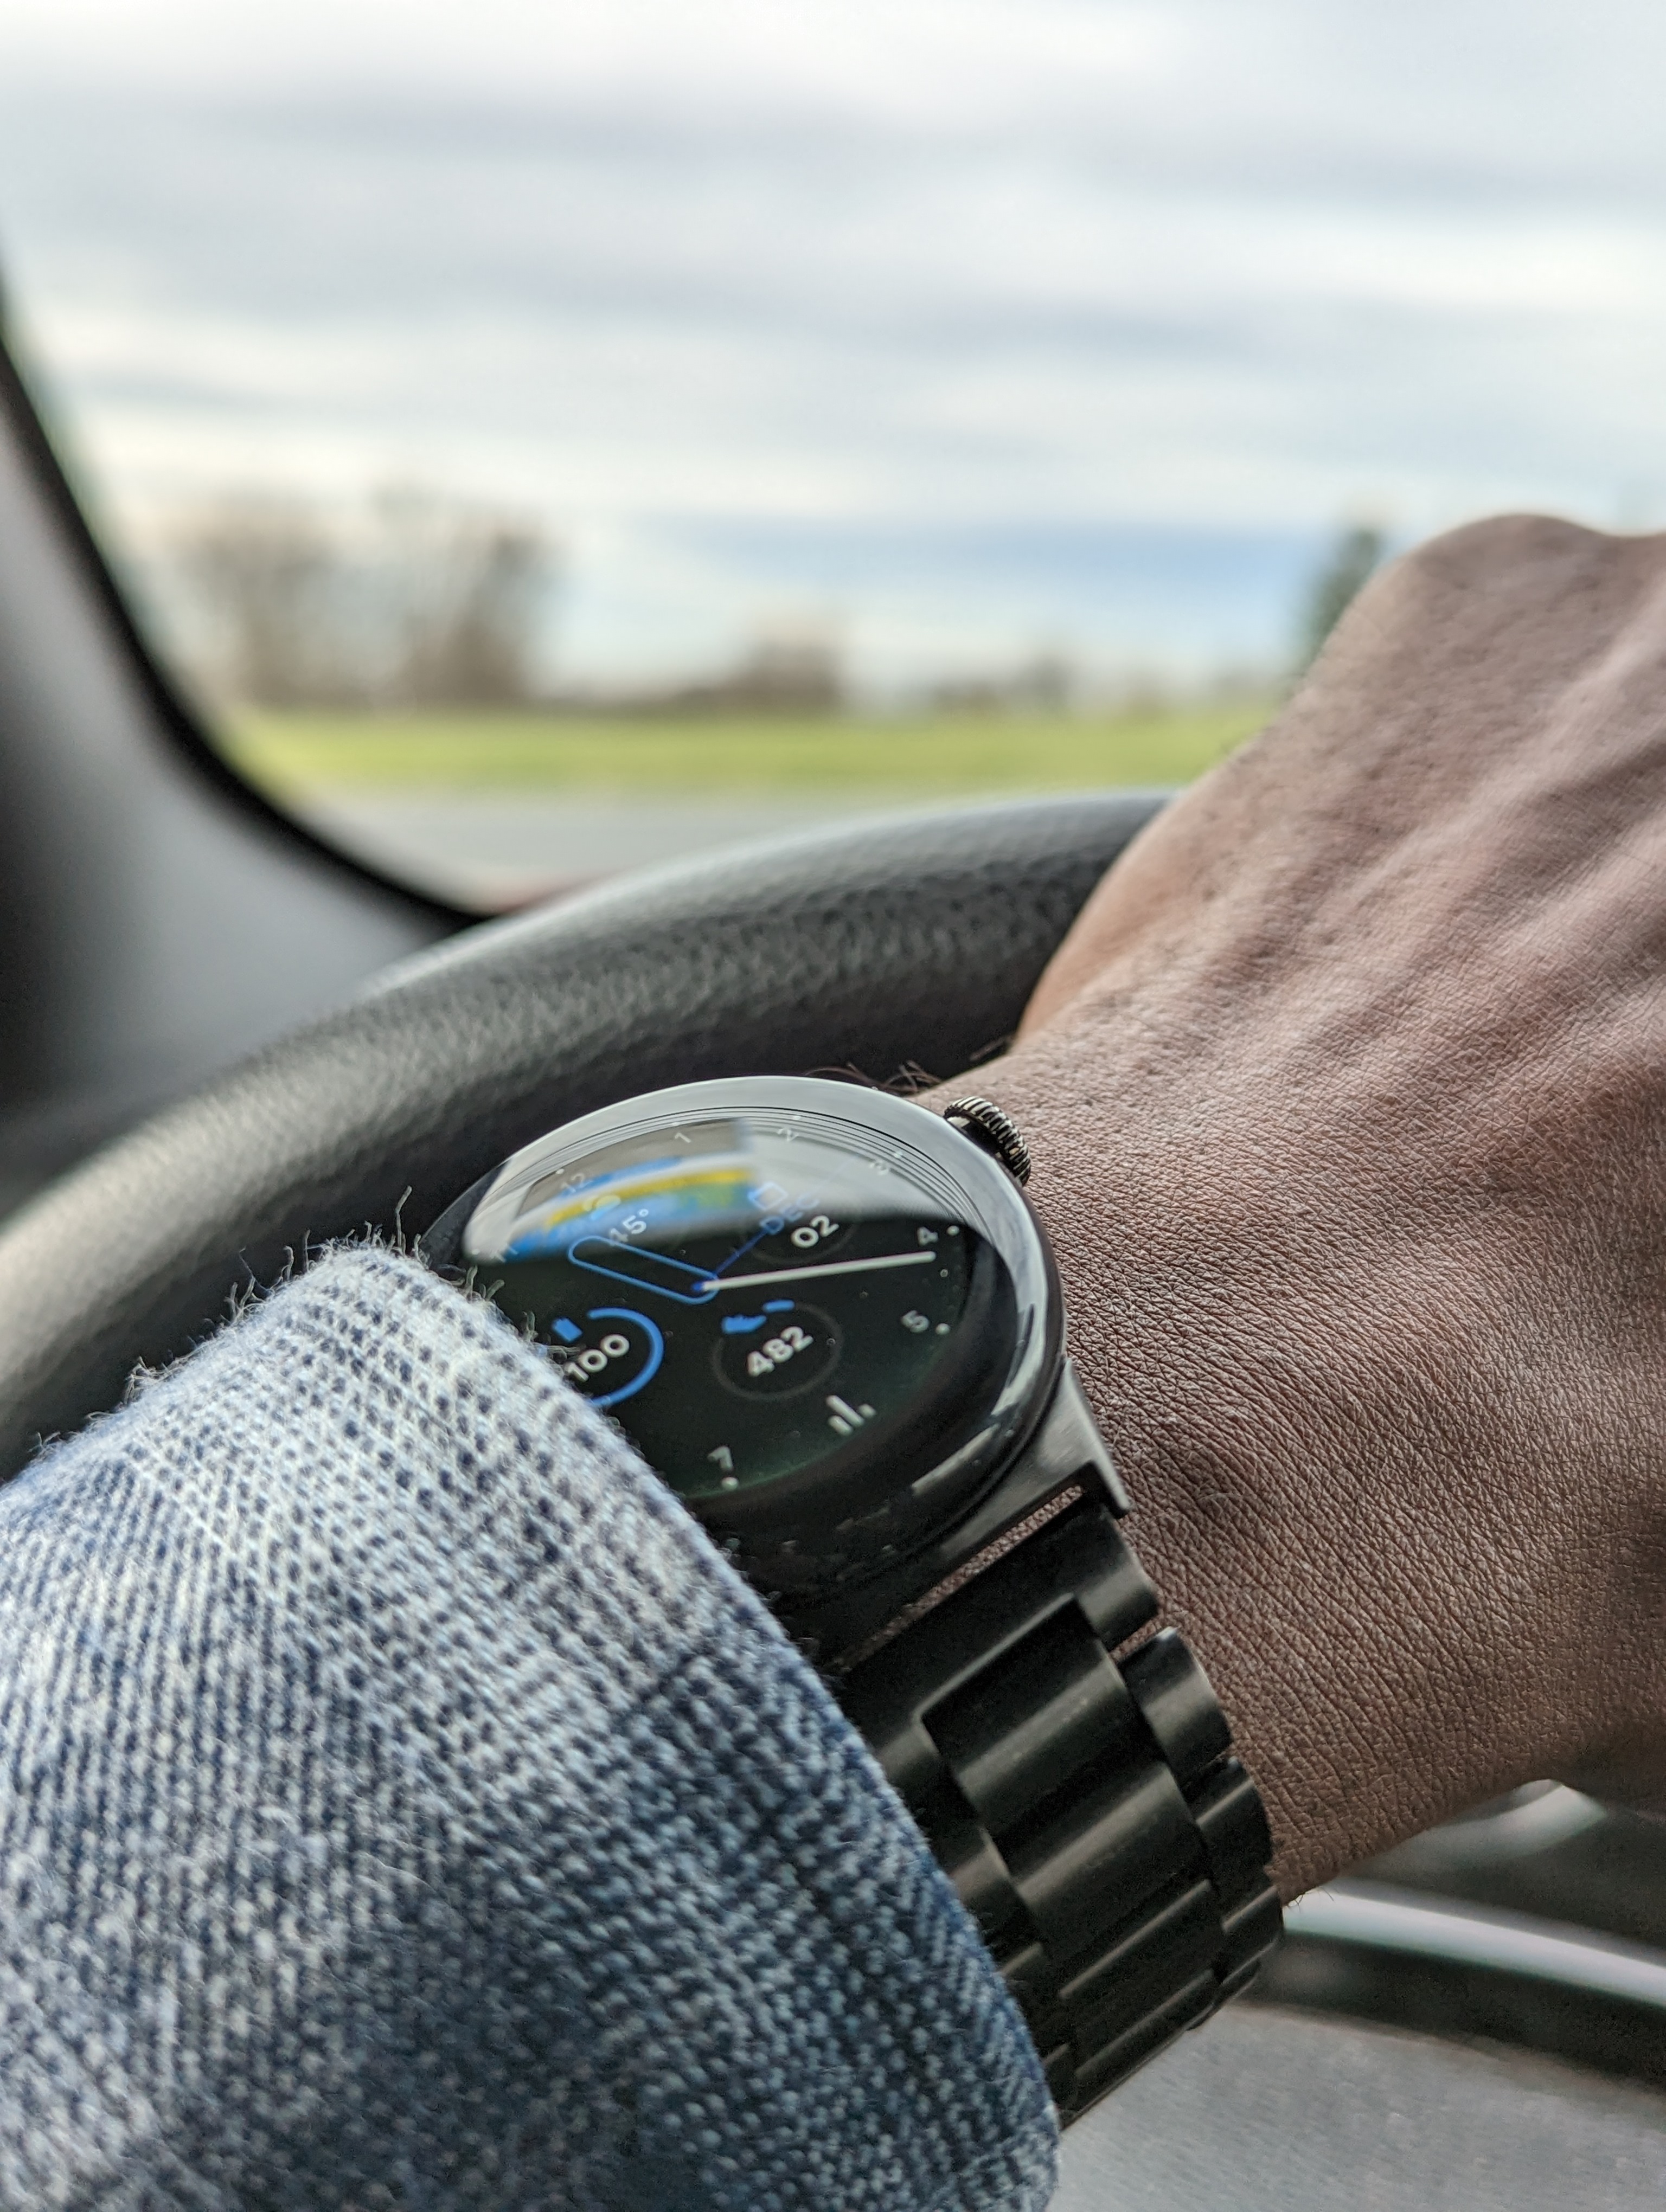
But from the day the Pixel Watch was officially announced and revealed, I know my biggest issue would have nothing to do with the tech specs. Instead it would be with the included watch band. Specifically, the material that it’s made from. This would not be the first time I’ve had contact with this type of band (made from fluoroelastomer), so even though I knew I wanted the watch I also knew one of the first things I would have to do is replace the band as soon as possible. Simply put, I can’t wear these types of bands for prolonged periods as they cause skin irritation and sometimes discoloration, especially during summer months. Since the Pixel Watch was launched in October, I had plenty of time to grab a replacement band. But with that I ran into a slight hiccup.
 The good news is that Google also announced alternative watch bands available in the Google Store. The bad news, in my opinion, is that they are all a bit pricey. So I did what many would do – I turned to Amazon. Going in, I knew specifically what I was looking for. I prefer more traditional metal watch bands, and found this $17 band from E ECSEM. This band is easily adjustable and can easily be attached and detached thanks to the Pixel Watch attachment design. You can view my full Amazon review here. Also, at time of this writing, the price has been reduced to $11.18! And yes – I’m still wearing this band daily.

What’s Not To Like
No beating around the bush here – simply put, the battery. Back when the first Apple Watch became widespread, I chuckled at the iOS faithful who complained about the battery life. After all, what good is a watch that requires you to charge it every night, and sometimes in the middle of the day? (Bear in mind, Apple claimed the watch could achieve 18 hours). As newer models were released, I still heard the same grumblings. In fact, it made me wonder if the whole “smart watch” craze was truly worth it. Sure – there are lots of cool features, sleep tracking, health tracking, etc. But was it all truly worth it if you have to charge them every night?
I began to wonder if there would ever be a worthy offering in the world of Android. Samsung began boasting 40 – 50 hours of battery life with the Galaxy Watch line, which is pretty impressive indeed. But I was already loyal to Google’s Pixel line (not just the phones, but I also owned the Pixel C as well as a Pixelbook), so I was hopeful a watch was son on the way. As it turns out, I had to wait a few more years for this to become a reality but I was hopeful to try a smartwatch just to get a feel for things.

I had read about the Amazfit Bip and gave it a shot. It was an interesting watch that sported a 14 -16 day battery life. It didn’t have any WearOS functionality – it was merely a bluetooth watch that could be used with either Android or iOS. It included it’s own proprietary app for sleep tracking, step tracking, even mobile payments. And above all else, it cost me a mere $35 at the time.
But I then discovered the Amazfit GTR-2 , pictured here to the right of the Pixel Watch. As you see, it has a large, beautiful display, integrates with Alexa, bluetooth calling, Blood Oxygen and Heart Rate tracking, and so on. But most importantly, it also features the impressive 14 – 16 day battery life that I can only WISH the Pixel Watch could achieve.
It is, in my opinion, one of the best smartwatch values for Android users. In fact, be sure to check out Amazfit’s entire line because I’m quite sure you’ll find something to fit your style and needs.
That being said, I was a bit disappointed when the Pixel Watch specs began rolling out, and it became known that it would have a 24-hour battery life. Yes, I still went ahead with it. I, like some reviewers I’ve read, have learned to schedule charging times during less impactful times of the day, which is typically first thing in the morning as I’m getting ready for work. The good news is that it does truly get a full 24 hours, so once I have it fully charged by 7:45AM I don’t have to worry about it again until 7:45AM the next morning. And it charges pretty quickly – in about an hour and a half it can go from about 26% to 100% easily.
Aside from the battery life, I was also a bit confused by Google somewhat ignoring Google Fit in favor of pushing a Fitbit Premium . Look, I get it – Google bought Fitbit so of course they’re going to market it as best they can. But I’ve been using Google Fit since its inception, and I personally have no reason to want to switch. Also, I like the Google Fit interface because it’s clean and simple. Thankfully there’s Health Connect , so I can have Fitbit running and collecting the data I want but I can view it all in Google Fit.
The Final Verdict
Overall, I truly love the Pixel Watch. I love the style, the customization options, and all of the general Googliness! I think there’s room for some improvements that can hopefully be done with software updates (case in point, Bedtime Mode should enable automatically like it does on the Pixel Phone). I think it’s a great value at its price point, and other than the battery life I think did a great job with this latest induction into the Pixel family.


